Docker Images vs Helm Charts: Choosing the Right Abstraction Layer for Your Kubernetes Deployments
You’ve containerized your application with Docker and pushed it to production. Now your team wants to move to Kubernetes, and suddenly everyone’s talking about Helm charts. Should you rewrite everything? Are Docker images obsolete? The answer is simpler than the debate suggests: Docker and Helm aren’t competing solutions—they solve fundamentally different problems at different abstraction layers.
The confusion is understandable. Both Docker and Helm deal with packaging and deployment, both are essential to modern containerized workflows, and both get thrown around in the same conversations about Kubernetes migrations. But treating them as alternatives is like asking whether you need source code or a compiler. You need both, and they serve distinct purposes in your deployment pipeline.
Docker images are immutable binary artifacts—snapshots of your application and its dependencies frozen at build time. They answer the question: “What runs?” Helm charts, on the other hand, are configuration packages that describe how to deploy and orchestrate those images in Kubernetes. They answer: “How does it run, where, and with what resources?” Your Docker image contains your application code; your Helm chart contains the deployment manifests, service definitions, and ConfigMaps that tell Kubernetes how to run that image across your cluster.
This distinction matters when you’re planning a Kubernetes migration. You don’t replace Docker with Helm—you add Helm as an orchestration layer on top of your existing container images. Understanding where each tool operates in your stack determines whether you’re making architecture decisions or just creating unnecessary work.
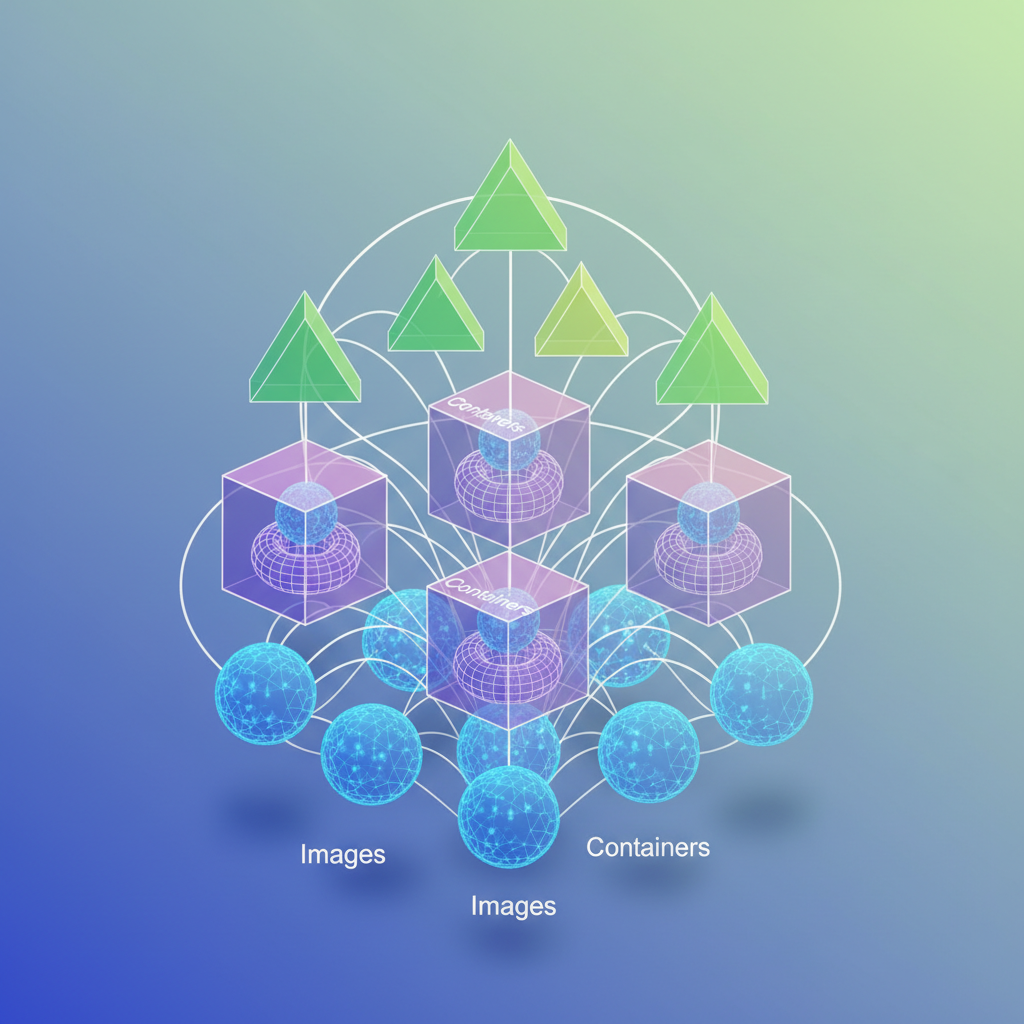
Understanding the Abstraction Layers: Images, Containers, and Charts
When teams first encounter Kubernetes, the relationship between Docker images and Helm charts creates immediate confusion. Both are called “packages,” both use registry infrastructure, and both deal with application deployment. Yet they operate at fundamentally different abstraction layers, and understanding this distinction determines whether your Kubernetes migration succeeds or turns into a configuration nightmare.
Docker images are your compiled artifacts. When you run docker build, you create an immutable binary package containing your application code, runtime dependencies, and filesystem layers. This image is a snapshot—a specific version of your application frozen in time. Push it to a registry, and you can pull that exact artifact on any Docker-compatible host. The image answers one question: what runs?
Helm charts are your deployment specifications. A chart packages Kubernetes manifests—YAML files defining Deployments, Services, ConfigMaps, and the entire orchestration topology. Charts include templating logic that parameterizes these manifests, letting you deploy the same application structure across development, staging, and production with different configurations. The chart answers a different question: how does it run?
The relationship between these layers is hierarchical, not alternative. Your Helm chart references Docker images in its values.yaml file. When you install a chart, Kubernetes pulls the specified images and orchestrates them according to the chart’s manifests. You cannot deploy a Helm chart without container images, and deploying raw Docker images to Kubernetes without manifests leaves you writing YAML by hand for every deployment.
Think of Docker images as compiled binaries and Helm charts as installation scripts. When you compile a Go application, you get a single executable binary. That binary contains everything needed to run the program, but it tells you nothing about how to deploy it—which ports to expose, what environment variables to set, how many replicas to run, or how to handle secrets. Helm provides that installation and configuration layer.
This distinction clarifies a critical architectural point: Docker images enforce reproducibility at the application layer, while Helm charts enforce reproducibility at the deployment layer. Your image hash guarantees that the same code runs everywhere. Your chart version guarantees that the same deployment topology exists everywhere. You need both guarantees for production reliability.
The confusion stems from Docker Compose, which conflates these layers. A docker-compose.yml file defines both which images to run and how to orchestrate them—networking, volumes, environment variables, and container relationships. Compose works for single-host deployments, but Kubernetes requires separating the what (images) from the how (charts) to enable cluster-wide orchestration, horizontal scaling, and declarative state management.
Understanding this separation shapes how you structure your deployment pipeline. Your CI builds and tags Docker images. Your CD deploys Helm charts that reference those tagged images. This division of responsibility becomes essential when we examine what Docker images actually provide—and what critical capabilities they intentionally leave out.
What Docker Images Actually Provide (And What They Don’t)
Docker images solve a foundational problem: packaging your application with everything it needs to run. A Docker image bundles your code, runtime environment, system libraries, and dependencies into a single, immutable artifact. When you build an image, you’re creating a snapshot that will behave identically whether it runs on your laptop, in CI, or in production.
This portability stems from how images are constructed. Consider a typical multi-stage build:
## Build stageFROM node:20-alpine AS builderWORKDIR /appCOPY package*.json ./RUN npm ci --only=productionCOPY . .RUN npm run build
## Production stageFROM node:20-alpineWORKDIR /appCOPY --from=builder /app/dist ./distCOPY --from=builder /app/node_modules ./node_modulesEXPOSE 3000CMD ["node", "dist/server.js"]
This Dockerfile demonstrates several strengths of the image abstraction. The multi-stage build compiles the application in one environment and copies only the production artifacts to the final image, reducing size from 800MB to under 150MB. The node:20-alpine base provides a known-good runtime. The layered filesystem means unchanged dependencies are cached, speeding up subsequent builds.
Distribution and Versioning Through Registries
Once built, images are distributed through container registries. You tag images with semantic versions and push them to registries like Docker Hub, Amazon ECR, or Google Container Registry:
docker build -t my-registry.io/payment-service:2.1.4 .docker push my-registry.io/payment-service:2.1.4docker tag my-registry.io/payment-service:2.1.4 my-registry.io/payment-service:latestdocker push my-registry.io/payment-service:latestThis tagging system gives you version control over your deployments. You can pin to specific versions for stability or use tags like latest for development environments. The registry becomes your single source of truth for what’s running where.
💡 Pro Tip: Never use
latestin production. Always pin to immutable tags like2.1.4or content-addressable digests likesha256:3f5a8b9c...to ensure reproducible deployments.
The Hard Boundaries of Image Abstraction
Docker images stop at the container boundary. An image knows nothing about how many replicas should run, how traffic should route between services, what configuration values change between environments, or how to handle secrets. The image doesn’t care if it’s running alone on your laptop or as part of a 50-node cluster.
This becomes apparent when you try deploying to Kubernetes. You can’t just push an image and call it done. You need to define a Deployment for replica management, a Service for networking, ConfigMaps for environment-specific settings, Secrets for credentials, Ingress rules for external traffic, and potentially PersistentVolumeClaims for storage. A single Docker image might require six or seven separate Kubernetes manifests.
The image is the artifact, not the deployment strategy. This distinction matters because teams often assume that containerizing their application means they’re ready for Kubernetes. The reality is that Docker images are a prerequisite, not a solution. They give you portable binaries, but you still need to describe how those binaries should behave as a distributed system—which is exactly where Helm charts enter the picture.
How Helm Charts Fill the Deployment Gap
While Docker images package your application code and dependencies, they don’t address the operational complexity of deploying to Kubernetes. A production deployment requires Deployments, Services, ConfigMaps, Secrets, Ingress rules, and potentially dozens of other resources—all of which need environment-specific configuration. Helm charts solve this problem by treating related Kubernetes resources as a single, configurable unit.
Templates Replace Manifest Duplication
Raw Kubernetes manifests force you into an uncomfortable choice: either duplicate YAML files for each environment (staging, production, regional variants) or build custom templating scripts. Helm uses Go’s template engine to parameterize your manifests:
apiVersion: apps/v1kind: Deploymentmetadata: name: {{ .Values.appName }} namespace: {{ .Values.namespace }}spec: replicas: {{ .Values.replicaCount }} selector: matchLabels: app: {{ .Values.appName }} template: metadata: labels: app: {{ .Values.appName }} spec: containers: - name: {{ .Values.appName }} image: {{ .Values.image.repository }}:{{ .Values.image.tag }} resources: limits: memory: {{ .Values.resources.memory }} cpu: {{ .Values.resources.cpu }} env: - name: DATABASE_URL value: {{ .Values.database.url }}The template references values that you define separately per environment. Instead of maintaining three copies of a 200-line manifest with minor differences, you maintain one template and three values files. The Go template engine supports conditionals, loops, and functions, allowing you to handle complex logic like feature flags or optional components without creating entirely separate manifest files.
Values Files Enable Environment Promotion
Values files provide the configuration that gets injected into your templates. Your production configuration stays separate from staging without duplicating the entire manifest structure:
appName: payment-servicenamespace: productionreplicaCount: 5
image:  repository: registry.example.com/payment-service  tag: v2.4.1
resources:  memory: "2Gi"  cpu: "1000m"
database: url: "postgres://prod-db.example.com:5432/payments"appName: payment-servicenamespace: stagingreplicaCount: 2
image: repository: registry.example.com/payment-service tag: v2.4.1-rc3
resources: memory: "512Mi" cpu: "250m"
database: url: "postgres://staging-db.example.com:5432/payments"Deploying to different environments becomes a single command with different values: helm install payment-service ./chart -f values-production.yaml or helm install payment-service ./chart -f values-staging.yaml. The same chart structure supports both. You can layer multiple values files, allowing you to compose configuration from a base file with environment-specific overrides or regional variations stacked on top. This composition pattern prevents configuration drift—when you update a shared default, all environments that inherit it automatically receive the change.
Charts Package Related Resources Together
A Helm chart bundles all the Kubernetes resources your application needs into a versioned package. Your chart directory contains templates for Deployments, Services, ConfigMaps, and any other resources required to run your application:
payment-service-chart/├── Chart.yaml├── values.yaml├── templates/│ ├── deployment.yaml│ ├── service.yaml│ ├── configmap.yaml│ ├── ingress.yaml│ └── hpa.yamlWhen you install the chart, Helm creates all these resources together. When you delete it, they all get removed as a unit. This prevents the configuration drift that occurs when manually applying individual manifest files—no more orphaned ConfigMaps from deployments you thought you deleted six months ago. The Chart.yaml file declares dependencies on other charts, enabling you to compose complex applications from reusable components. A web application chart might depend on a Redis chart and a PostgreSQL chart, and Helm will install the entire dependency graph in the correct order.
Release Management Tracks Deployment History
Helm maintains a release history for every installation. Each helm upgrade creates a new revision with the exact configuration used for that deployment. If something breaks, helm rollback payment-service 3 restores your application to revision 3 in seconds, reverting all resources to their previous state simultaneously. This beats manually applying old manifest files from git history and hoping you didn’t miss any changes.
The release concept gives you atomic operations across all your Kubernetes resources. An upgrade either succeeds completely or fails and leaves the previous working state intact. You can inspect any past revision with helm get values payment-service --revision 3 to see exactly what configuration was deployed. This audit trail proves invaluable during incident response when you need to determine what changed between working and broken states.
With templates handling parameterization, values files managing configuration, and charts bundling resources into versioned releases, Helm transforms Kubernetes deployment from a collection of manual kubectl commands into a repeatable, auditable process. The next question becomes: how do Helm charts and Docker images work together in your actual deployment pipeline?
The Deployment Pipeline: Where Both Tools Intersect
Understanding how Docker images and Helm charts work together in a deployment pipeline clarifies why both tools remain essential in modern Kubernetes workflows. The relationship is straightforward: CI builds immutable artifacts (Docker images), while CD orchestrates their deployment (Helm charts). This separation of concerns enables teams to version, test, and promote applications independently from their infrastructure configuration.
CI: Building and Versioning Docker Images
Your CI pipeline builds Docker images and pushes them to a container registry with semantic versioning. This creates an immutable artifact that can be deployed to any environment:
build: stage: build script: - docker build -t registry.gitlab.com/mycompany/api:${CI_COMMIT_SHA} . - docker tag registry.gitlab.com/mycompany/api:${CI_COMMIT_SHA} registry.gitlab.com/mycompany/api:${CI_COMMIT_REF_NAME} - docker push registry.gitlab.com/mycompany/api:${CI_COMMIT_SHA} - docker push registry.gitlab.com/mycompany/api:${CI_COMMIT_REF_NAME}This separation between image building and deployment provides crucial flexibility. The same image built in CI can be promoted through staging, production, and disaster recovery environments without rebuilding. Rebuilding for each environment introduces risk: you’re no longer testing the exact artifact that will run in production. Immutable images guarantee that what passed testing in staging is byte-for-byte identical to what deploys to production.
The dual-tagging strategy shown above serves different purposes. The SHA tag provides immutability and traceability back to specific commits, while the branch name tag (main, develop) offers convenience during active development. Production deployments should always reference SHA tags to ensure reproducibility.
CD: Injecting Image Tags into Helm Values
Your CD pipeline takes the image tag from CI and injects it into Helm’s values during deployment. This keeps image versions decoupled from chart definitions:
deploy-staging: stage: deploy script: - helm upgrade --install api-staging ./charts/api --set image.repository=registry.gitlab.com/mycompany/api --set image.tag=${CI_COMMIT_SHA} --set ingress.host=staging-api.mycompany.com --namespace stagingThis pattern ensures your Helm chart remains environment-agnostic. The chart defines the application’s structure (deployments, services, ingress rules), while runtime values specify environment-specific configuration and the exact image version to deploy. You can maintain a single chart that deploys to development, staging, and production with different values files, rather than duplicating chart logic across environments.
The helm upgrade --install command demonstrates Helm’s declarative approach: it either upgrades an existing release or installs a new one if none exists. This idempotency simplifies deployment scripts and recovery procedures.
GitOps: Tracking Chart and Image Versions Separately
GitOps workflows maintain separate versioning for Helm charts and container images. Your chart version increments when deployment configuration changes (new resource limits, additional services, updated ingress rules), while image tags track application code changes:
## Chart version: controls infrastructure changes## Tracked in Git, updated when deployment patterns changereplicaCount: 2
image:  repository: registry.gitlab.com/mycompany/api  # Image tag: controls application version  # Updated by CD pipeline, not manually edited  tag: a3f8d92c4e1b5a9d8f7c6e2b1a4d3f9e8c7b6a5d  pullPolicy: IfNotPresent
resources:  limits:    memory: 512Mi  requests:    memory: 256Mi
ArgoCD or Flux monitors this repository structure and synchronizes the cluster state with Git. When your CD pipeline commits a new image tag, the GitOps operator detects the change and triggers a deployment. This creates an audit trail: every deployment corresponds to a Git commit, answering “who deployed what, when, and why” without consulting CI/CD logs.
This separation also enables different release cadences. Infrastructure teams can iterate on Helm chart improvements (adding health checks, adjusting autoscaling policies) without coordinating with application deployments. Conversely, development teams can ship code multiple times per day while infrastructure configuration remains stable.
The Critical Anti-Pattern: Hardcoded Image Tags
Hardcoding image tags in chart templates breaks the separation between application artifacts and deployment configuration:
## ANTI-PATTERN: Don't do thisspec: containers: - name: api image: registry.gitlab.com/mycompany/api:v1.2.3This creates a tight coupling that forces you to modify your chart every time you deploy new application code. It also makes the chart non-reusable: each environment would need its own chart variant with different hardcoded tags. Instead, reference the values file:
spec: containers: - name: api image: "{{ .Values.image.repository }}:{{ .Values.image.tag }}" imagePullPolicy: {{ .Values.image.pullPolicy }}This templating approach keeps your chart reusable across environments while allowing CI/CD pipelines to control which image version gets deployed. The chart becomes infrastructure-as-code in the truest sense: it describes the shape and behavior of your deployment without binding to specific application versions.
💡 Pro Tip: Use
latesttag only in local development. Production deployments should always reference explicit SHA or semantic version tags to ensure reproducibility and enable reliable rollbacks. Rolling back tolatestis meaningless if that tag has been reassigned to a newer image.
With these pipeline patterns established, the natural question becomes whether your team actually needs Helm’s complexity or if simpler deployment tools suffice.
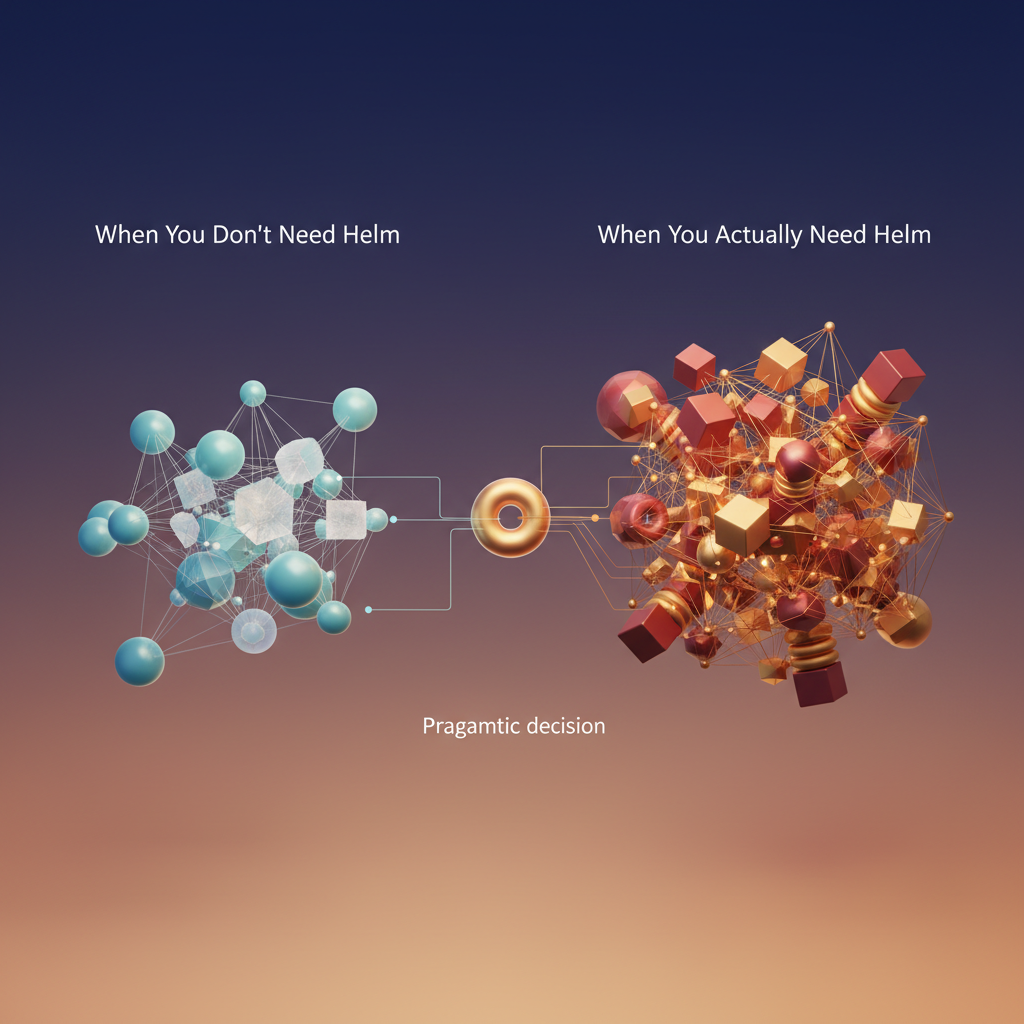
When You Actually Need Helm (And When You Don’t)
The Kubernetes ecosystem has a dangerous tendency toward premature optimization. Teams that previously deployed with docker-compose up often assume they need Helm the moment they move to Kubernetes. This assumption wastes weeks on learning curves and adds operational complexity where none is needed.
Start With kubectl
For small teams running one or two services in a single environment, raw Kubernetes manifests and kubectl apply -f are sufficient. If you’re deploying a stateless API with a PostgreSQL database, maintaining a dozen YAML files in your repository is straightforward. Version control handles your deployment history, and environment-specific values can live in separate manifest files or be managed through simple bash scripts that substitute environment variables before applying.
The breaking point comes when you start duplicating manifests across environments. If you’re copying deployment-staging.yaml to create deployment-production.yaml and manually changing values, you’re ready for templating—but that doesn’t necessarily mean Helm.
When Helm Becomes Essential
Helm solves three specific problems: multi-environment configuration management, dependency resolution, and release lifecycle management. You need Helm when:
You’re managing 3+ environments with different resource limits, replica counts, or feature flags. Helm’s values files make this explicit rather than buried in bash scripts.
You’re deploying multiple services that share configuration patterns. A Helm chart with sensible defaults prevents the copy-paste proliferation of manifests that inevitably drift.
You’re consuming third-party applications. Installing Prometheus, PostgreSQL operators, or ingress controllers through community Helm charts is significantly easier than maintaining custom manifests that need updates for every upstream release.
You need atomic rollbacks. Helm’s release management provides instant rollback to previous working configurations, which is critical for production systems where debugging a broken deployment costs more than the overhead of managing Helm.
Alternative Approaches
Before committing to Helm, evaluate Kustomize for simpler templating needs. Kustomize provides configuration layering and patching without introducing a new templating language. It’s built into kubectl and works well for teams that need environment variants but don’t require complex conditional logic.
For stateful applications like databases or message queues, Kubernetes operators often provide better lifecycle management than Helm charts. Operators understand application-specific operational knowledge that generic templating can’t capture.
The Decision Framework
Teams under five people deploying fewer than five services should start with raw manifests. Teams running multi-region deployments with dozens of microservices need Helm’s structure. The transition point is when manual manifest management consumes more engineering time than learning and maintaining Helm would.
The next section examines practical migration paths from Docker Compose to Helm charts, providing concrete strategies for teams making this transition.
Migration Strategy: From Docker Compose to Helm Charts
Moving from Docker Compose to Kubernetes with Helm doesn’t mean abandoning your existing Docker infrastructure. Your Dockerfiles remain untouched—they continue building the same container images you’ve been using. What changes is how you orchestrate those containers in production.
The fundamental shift is translating your docker-compose.yml service definitions into Kubernetes manifests managed by Helm. Where Compose handles orchestration on a single host, Helm coordinates distributed deployment across a cluster. But the container images? They stay exactly the same.
Phase 1: Mapping Compose Services to Helm Templates
Start by identifying your stateless services—web frontends, API servers, worker processes. These migrate cleanly because they don’t require persistent storage.
Here’s a typical Compose service definition:
services: api: build: ./api image: mycompany/api:1.2.3 ports: - "8080:8080" environment: - DATABASE_URL=postgresql://db:5432/production - REDIS_HOST=redis depends_on: - db - redisThe equivalent Helm template transforms this into Kubernetes resources:
apiVersion: apps/v1kind: Deploymentmetadata: name: {{ .Release.Name }}-apispec: replicas: {{ .Values.api.replicas }} selector: matchLabels: app: api template: metadata: labels: app: api spec: containers: - name: api image: {{ .Values.api.image.repository }}:{{ .Values.api.image.tag }} ports: - containerPort: 8080 env: - name: DATABASE_URL valueFrom: secretKeyRef: name: {{ .Release.Name }}-db-credentials key: connection-string - name: REDIS_HOST value: {{ .Release.Name }}-redisNotice the container image reference stays identical—mycompany/api:1.2.3. You’re simply wrapping it in Kubernetes primitives. The Deployment resource adds capabilities Compose lacks: replica management, rolling updates, and automatic restart policies. Your existing CI/CD pipeline that builds and pushes Docker images continues working without modification.
The depends_on directive from Compose has no direct equivalent in Kubernetes. Instead, your application should implement proper retry logic for database connections. Kubernetes will keep restarting failed pods until dependencies become available, but your code needs to handle transient connection failures gracefully.
Phase 2: Externalizing Configuration
Docker Compose environment variables translate to ConfigMaps for non-sensitive data and Secrets for credentials. Volume mounts become PersistentVolumeClaims. This separation is crucial—it enables deploying identical chart code across multiple environments with different configurations.
Create a values file to centralize configuration:
api:  replicas: 3  image:    repository: mycompany/api    tag: 1.2.3  config:    logLevel: info    timeout: 30s
database:  host: postgres-primary.db-namespace.svc.cluster.local  port: 5432  name: production
Then reference these values in a ConfigMap template:
apiVersion: v1kind: ConfigMapmetadata: name: {{ .Release.Name }}-api-configdata: LOG_LEVEL: {{ .Values.api.config.logLevel }} TIMEOUT: {{ .Values.api.config.timeout }} DATABASE_HOST: {{ .Values.database.host }} DATABASE_PORT: {{ .Values.database.port | quote }}For sensitive data like database passwords and API keys, use Secrets instead:
apiVersion: v1kind: Secretmetadata: name: {{ .Release.Name }}-api-secretstype: OpaquestringData: DATABASE_PASSWORD: {{ .Values.api.secrets.databasePassword }} API_KEY: {{ .Values.api.secrets.apiKey }}Reference these in your Deployment using envFrom for cleaner configuration injection:
spec: containers: - name: api envFrom: - configMapRef: name: {{ .Release.Name }}-api-config - secretRef: name: {{ .Release.Name }}-api-secretsThis pattern eliminates the need to individually map each environment variable, reducing template verbosity and maintenance burden.
Phase 3: Adding Stateful Services
Once stateless services run smoothly, tackle databases and caches. For PostgreSQL, instead of migrating your Compose postgres service directly, use the Bitnami PostgreSQL Helm chart as a dependency:
dependencies: - name: postgresql version: 12.1.9 repository: https://charts.bitnami.com/bitnami condition: postgresql.enabledYour application chart references the database using the release name:
postgresql: enabled: true auth: username: appuser password: secure-password-123 database: production primary: persistence: size: 50Gi storageClass: fast-ssdThis approach leverages battle-tested charts rather than reinventing database deployment patterns. The Bitnami chart handles backup configuration, replication setup, and persistence management—complexities you’d otherwise implement manually.
For production workloads, consider using managed database services (RDS, Cloud SQL, Azure Database) instead of self-hosting on Kubernetes. Set postgresql.enabled: false in production values and point database.host to your managed instance. This keeps development environments self-contained while production benefits from managed service reliability.
Validation and Rollback
Before declaring migration complete, verify the deployment with helm install myapp ./mychart --dry-run --debug. This renders templates without applying them, catching configuration errors early. Pay attention to template rendering errors—typos in Go template syntax will surface here.
Deploy to a staging namespace first: helm install myapp-staging ./mychart --namespace staging --create-namespace. Run integration tests, then promote to production using identical chart code with different values files: helm install myapp-prod ./mychart --namespace production --values values-production.yaml.
Helm’s rollback capability provides safety: helm rollback myapp-prod reverts to the previous release if issues arise. Each helm upgrade creates a new revision, preserving the complete deployment history.
The migration from Docker Compose to Helm charts doesn’t require rebuilding your containerization strategy—it extends it with Kubernetes-native orchestration while preserving your existing image artifacts and CI workflows.
Key Takeaways
- Don’t choose between Docker and Helm—use Docker to build portable images and Helm to deploy them with environment-specific configuration
- Start with your existing Dockerfiles and CI pipeline, then layer Helm on top when you need multi-environment deployment management
- Keep image tags parameterized in Helm values files to maintain clean separation between build artifacts and deployment configuration
- Evaluate alternatives like Kustomize before committing to Helm’s complexity—not every team needs full templating power